


Breaking WPA/WPA2-PSK through WPS easily and quickly (Practice)

To begin with, for all with not very pure intentions, we must state that security against this attack is growing very successfully, thanks to the influx of new routers into households.
These routers use the simplest protection against brute force attack and that they lock WPS after several unsuccessful attempts (even for a period growing exponentially), so the attack is basically unrealistic.

At the outset, of course, we have to start by saying that carrying out such attacks on foreign networks in order to gain access to them is very rude and maybe something more.
Therefore, we emphasize that we write the following procedure mainly for those who want to check the security of their own network and want to draw attention to their neighbor’s poorly secured network.
At the same time, this procedure is suitable for those who want to verify the theoretical knowledge acquired in the previous post.
Prerequisites
We will need the following to carry out a successful attack:
- WiFi network secured by WPA (2) -PSK encryption with active WPS
- WiFi router must not be too far (we need a relatively good signal)
- Notebook/ PC with WiFi card compatible with Aircrack-NG
- Backtrack Linux – Penetration Testing Distribution (Free to download, see update below)
- something between one and twelve hours of time
Have an attack, or Attacking a router with WPS activity is really a must, because you are attacking the WPS weakness, not WPA-PSK or WPA2-PSK.
UPDATE: Backtrack is no longer up to date
… and cannot be downloaded officially.
The procedure described below is still valid!
It is best to switch to Kali Linux, offers the same or better tools.
Anyone who wants backtrack 5 can use torrentwhere this distribution will definitely be available for download for a long time.
What do we get?
If our attack is successful, we will get a WiFi password through the WPS weakness, i.e. part of the PSK from WPA(2) -PSK.
The attack and its time-consuming nature has no connection at all with the quality of the key (passwords) used, because we repeat again, you attack WPS, not WPA.
It continues to be true that WPA as such cannot be broken other than by brute force and is thus theoretically unbreakable in the event that the password is strong enough.
Backtrack Linux performance
Backtrack Linux will be our hacking tool.
It is a special Linux distribution focusing on security using hacking.
Backtrack Linux offers a compilation of tools that can be used to carry out attacks and thereby verify the level of security of the victims tested.
Although you can also get the tools used for hacking in the distribution for any other common Linux distribution (and maybe even Windows), in Backtrack Linux you have everything coordinated and ready for ease of use – which you will finally see for yourself in no time.
Download and preparation
You can always download the current version on the site Backtrack Linux – Downloads, at the time of writing the article, the current version is BackTrack 5 R3.
Due to the speed, it is very convenient to download the distribution via torrent (note: at least after a long time you will use the torrent client for something that he was really created for;)).
There are several combinations of ready-made 32- and 64-bit systems and desktop environments (GNOME or KDE Desktop Environment) to download.
If you don’t know what it is, choose, for example, GNOME and a 32-bit variant.
We also prefer GNOME, and all the demos will be here from this environment.
The 32-bit variant of the system will run on any (even older) machines, while the 64-bit version has the prerequisites to be more powerful than the 32-bit version, but will only run on supported hardware (architecture) – for some time they have basically been all Notebooks and PCs on Intel platform 64-bit (x64).
{Googleads Left}
There is an ISO image and also an image for a virtualized environment (VMware).
We prefer an ISO image, which we physically burn to DVD and then boot the finished system from it on some laptop that we currently have available.
Backtrack Linux is not installing, it is Live distribution, which starts directly from the DVD and can be used straight away.
More precisely, it is one of the possible uses.
Thanks to this, distribution can be started on almost any machine without long preparations.

We start Backtrack Linux
So we have downloaded and burned, DVDs inserted in the laptop and we start.
In most cases, the boot order can be determined once by pressing the F12 key when starting up the BIOS, or It is necessary to change the boot order in the BIOS settings.
The specific setting depends on the laptop model.
By confirming (pressing ENTER) the first two boot-queries, the system enters the text mode (command line), in which we can start working.
We start the desktop environment by entering the command:
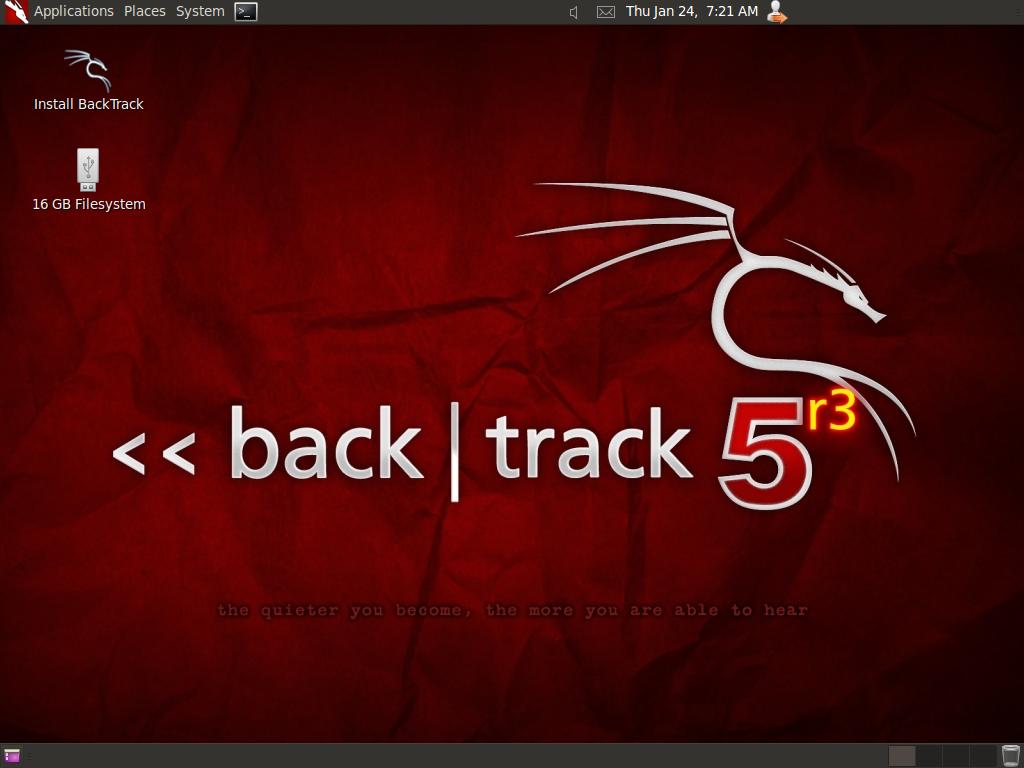
 Backtrack Linux 5 R3 – Gnome Desktop
Even in the GNOME environment, but we will only work with the command line.
The advantage over the classic command line can be that we can open several of these windows.
To open the command line window, we use the upper bar, where, in addition to the System menu, a shortcut is prepared for its launch.
 Backtrack Linux 5 R3 – Command Prompt
We hack
Now we are waiting for the attack itself.
Using a few utilities, we create a penetration tool from the WiFi card and our computer.
Switching WiFi card to monitoring mode
The first step is to switch the wireless card to monitoring mode.
We will use a utility for this Airmon-ng And in the following syntax:
Airmon-ng Start WLAN0
 Backtrack Linux 5 R3 – Airmon-NG
Parameter WLAN0 is a physical WiFi card marking.
Linux numbers these cards from scratch, so it is the first card.
If there are more tabs in the system (for example, internal + via USB), the parameter can be adjusted to the desired value.
After executing the command, a new virtual adapter with the MON0 label will be created, with which we will work later.
Note: To view a list of all network cards in the system (including virtual ones), use the command ifconfig.
Getting router information
For the attack itself, we need to know the MAC address of the tested router, i.e. the physical address of this device.
If we are now testing our own router, we have more options to find out the address.
The easiest way is through the web interface of the router, or This address can be printed on one of its labels.
But let’s not forget that most routers allow the MAC address to be changed (mostly with a clone from a PC).
But we will play a real hacker and find out the necessary information using the utility Airodump-ng.
A real hacker usually does not have access to the router he is attacking.
Airodump-ng MON0
The utility accepts more parameters, for the basic scan of the environment, but you only need to pass the label of the adapter that we want to use.
Note that we have already used the virtual MON0 adapter.
 Airodump-ng
Let the Airodump run for a while until the desired router appears in the list.
The SSID of each network (its name) and also the MAC address of the device are evident from the statement
As soon as we see the desired record, we press Ctrl + C and return to the command line.
Starting a brute-force attack
At this moment, we have all the necessary information to launch an attack.
Next comes the last utility Reaver, which will carry out the attack itself with brute force.
Assuming that the MAC address of our router is 11:22:33:44:55:66 and we will use a virtual MON0 adapter for the attack, we will release Reaver with the following parameters:
reaver -i mon0 -b 11:22:33:44:55:66 -vv
The first two parameters are obvious, the last of them -VV instructs Reaver to be very eloquent (very verbose), which results in a detailed listing on the screen during an attack.
 Reaver – just launched
What if the attack doesn’t start?
If the following message starts to appear after the attack:
[!]Warning: Failed to Associate with 11:22:33:44:55:66 (Essid: Name)
We can try to run in the second command line window (terminal) Aireplay, which will start generating traffic in the WiFi network and thus help to eliminate the problem with the association.
We will start Aireplay (first terminal)
# Aireplay-ng MON0 -1 120 -A 11:22:33:44:55:66 -E Router name (WiFi network)
We will start Reaver (second terminal)
#reaver -i mon0 -a -b 11:22:33:44:55:66 -vv
Don’t overlook that Reaver has also received the -a parameter.
If the attack stops immediately after a successful association with the router, it will remain standing on this message:
[+]Associated with 11: 22: 33: 44: 55: 66 (essid: name)
WPS is most likely not active on the router.
Can we still try to test the WPS state with a utility Wash:
Wash -i mon0 -c
For active WPS, Wash should list WPS version (1.0) and value WPS LOCKED must be Yet.
How does it work?
The trick of the whole attack is that the router confirms the correctness of the first half of the eight-digit Pin, regardless of whether the rest agrees.
In the first phase, Reaver gradually tries all the options in the range 0000yyyy until 9999yyyy.
If approximately 3 to 5 seconds are needed for one pin, it is obvious that with a pin starting with a nine, the brute force attack will last much longer (up to 12 hours) than for a pin starting, for example, with a unit (hour to two).
However, it is certain that if the router does not have any defense mechanisms implemented, the attack will always be successful in a maximum of tens of hours.
The second part of the attack is already much faster, because the second part of the PIN also has four digits, but the last one is a checksum that can be derived from the previous seven digits.
It is therefore only necessary to test the values in the range XXXX000Z until XXXX999Z, where XXXX We already know from the previous first part and the value of the checksum from We will add up.
 Reaver – successful attack
The attack on this particular PIN did not last more than two hours.
For the sake of interest, a picture of the WPS setting on the tested router:
 QSS/WPS router setup
After a successful attack, we have two very important data available.
The password itself to WPA(2) -PSK and also PIN to WPS!
With the help of PIN, we can repeatedly attack and get the WPA password immediately.
So if the router owner only changes the password and the PIN remains original, this is only a minimal obstacle for the attacker.

Reaver – hack using pin
As you can see, the repeated attack did not last more than 4 seconds.
What can go wrong during an attack
An attack may not always be successful.
The main reason may be that the router does not have an active WPS or does not support WPS at all.
Then, of course, you can’t attack WPS.
The router can also implement one or more defense mechanisms that can significantly prolong the attack or even make it impossible in real practice.
From this knowledge also follows the only effective defense against this type of attack – to turn off the WPS or to have a router implementing defense mechanisms against a brute-force attack.
Source:http://www.mrpear.net/cz/
